Rice sounds simple. Add water, add rice, wait. But if you have ever pulled the lid on a pot and found a gummy, clumped mess sticking to the bottom, you know that stovetop rice can turn on you fast. The guesswork compounds in a tiny kitchen where you are juggling one burner, a timer, and whatever else is already in the pan. The Dash Mini Ceramic Rice Cooker removes all of that. It handles timing automatically, switches itself to keep-warm when the rice is done, and the ceramic pot cleans up in about thirty seconds. After testing it with half a dozen rice types over several months, I have figured out the exact ratios and techniques that get fluffy, separate grains every single time. This guide walks through every step.
One note before we start: the Dash Mini holds up to two cups of cooked rice, which works out to roughly one cup of dry rice. That is the right size for one person or two people splitting a side dish. If you are feeding three or four, you will need to run two batches. Keep that in mind when you plan your meal. For solo cooks and couples, though, this cooker is sized perfectly.
If your stovetop rice is still coming out wrong, this tiny cooker fixes it for good.
The Dash Mini Ceramic Rice Cooker has over 47,000 Amazon reviews for a reason. One button, automatic keep-warm, and a ceramic pot that rinses clean in seconds. Check today's price before it changes.
Amazon Check Today's Price on Amazon →Step 1: Measure Your Dry Rice Correctly
The measuring cup that comes with the Dash Mini is not a standard US cup. It is a Japanese rice cup, which holds about 180 ml instead of the usual 240 ml. This is the single most common source of confusion for new users. If you use a standard US measuring cup and then follow the lines on the inner pot, your water ratio will be off and the rice will come out too wet or too dry.
My recommendation: stick with the included cup for measuring rice, and use the fill lines printed inside the ceramic pot for water. That combination is what Dash calibrated the machine around. Alternatively, if you have lost the cup, use a standard half-cup measure and double it for a one-cup dry serving. The ratio math still works as long as you are consistent about which measuring tool you use for both rice and water.
For this guide, all ratios are given in standard US cups so you can adapt them however you prefer. Just keep the measuring system consistent within each cook.
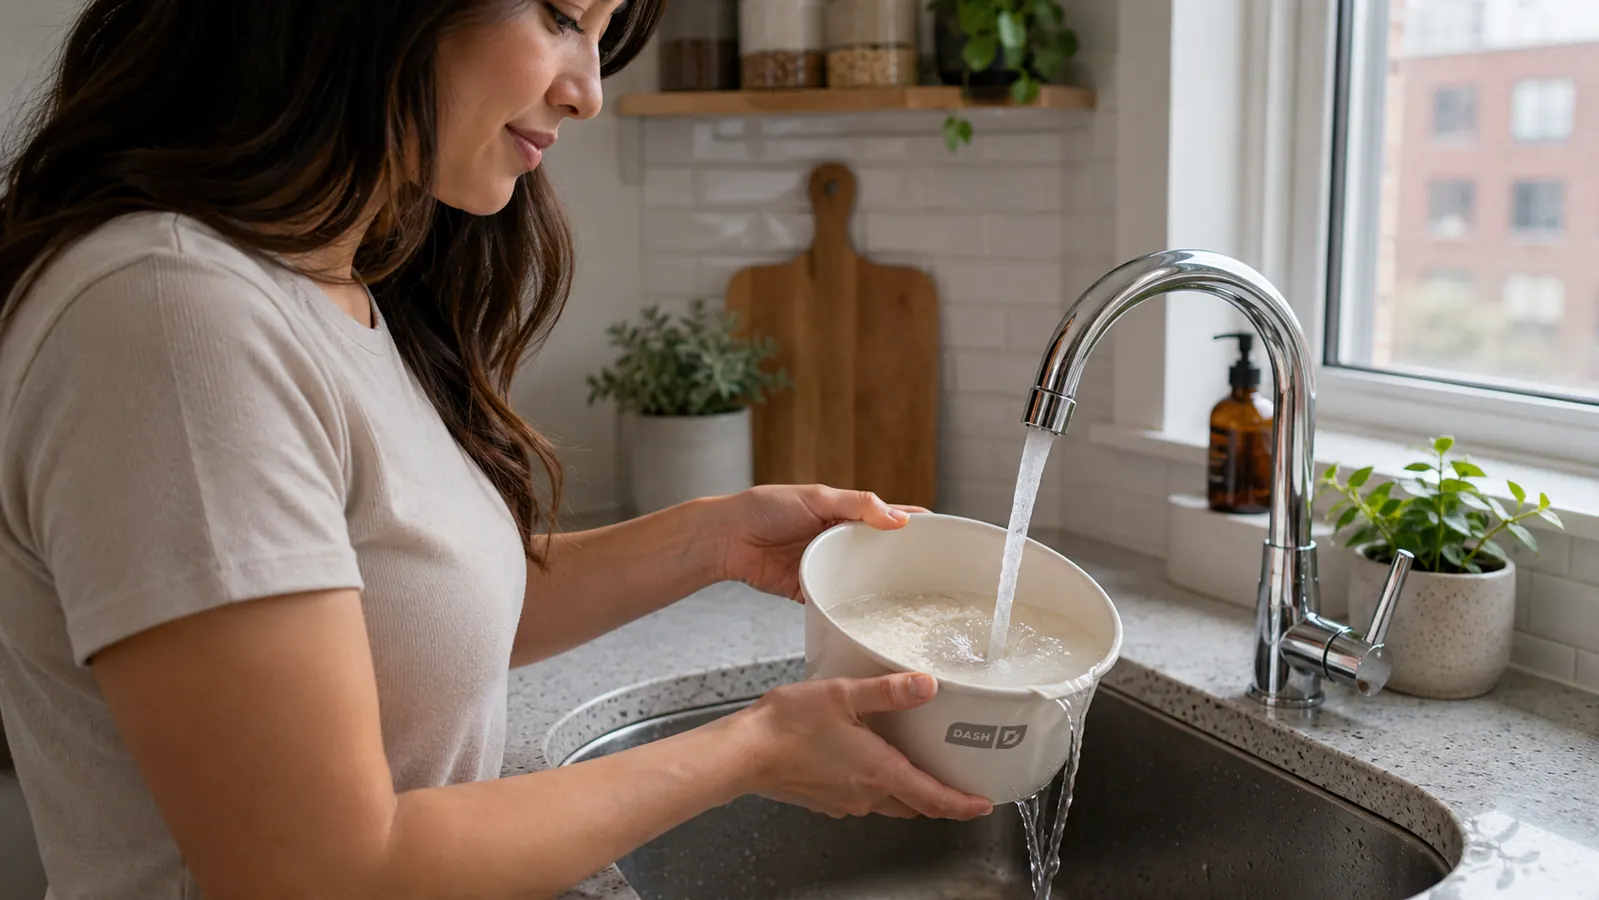
Step 2: Rinse the Rice (Do Not Skip This)
Rinsing removes surface starch. Surface starch is what makes rice clump together and get sticky. If you want individual, fluffy grains, rinsing is not optional. Put the dry rice in a fine-mesh strainer or directly in the ceramic pot, run cold water over it, swirl with your hand, and pour off the cloudy water. Repeat two or three times until the water runs mostly clear.
The exception is if you specifically want stickier rice, like for sushi or rice bowls where you want things to hold together. In that case, skip the rinse and the natural starch will do its job. For general side-dish rice, always rinse.
After rinsing, let the rice drain for a minute in the strainer before adding it back to the ceramic pot. Excess rinse water left on the rice will throw off your ratio slightly. This is a small detail but it matters when you are working with small batches where every tablespoon counts.
Step 3: Add Water Using the Right Ratio for Your Rice Type
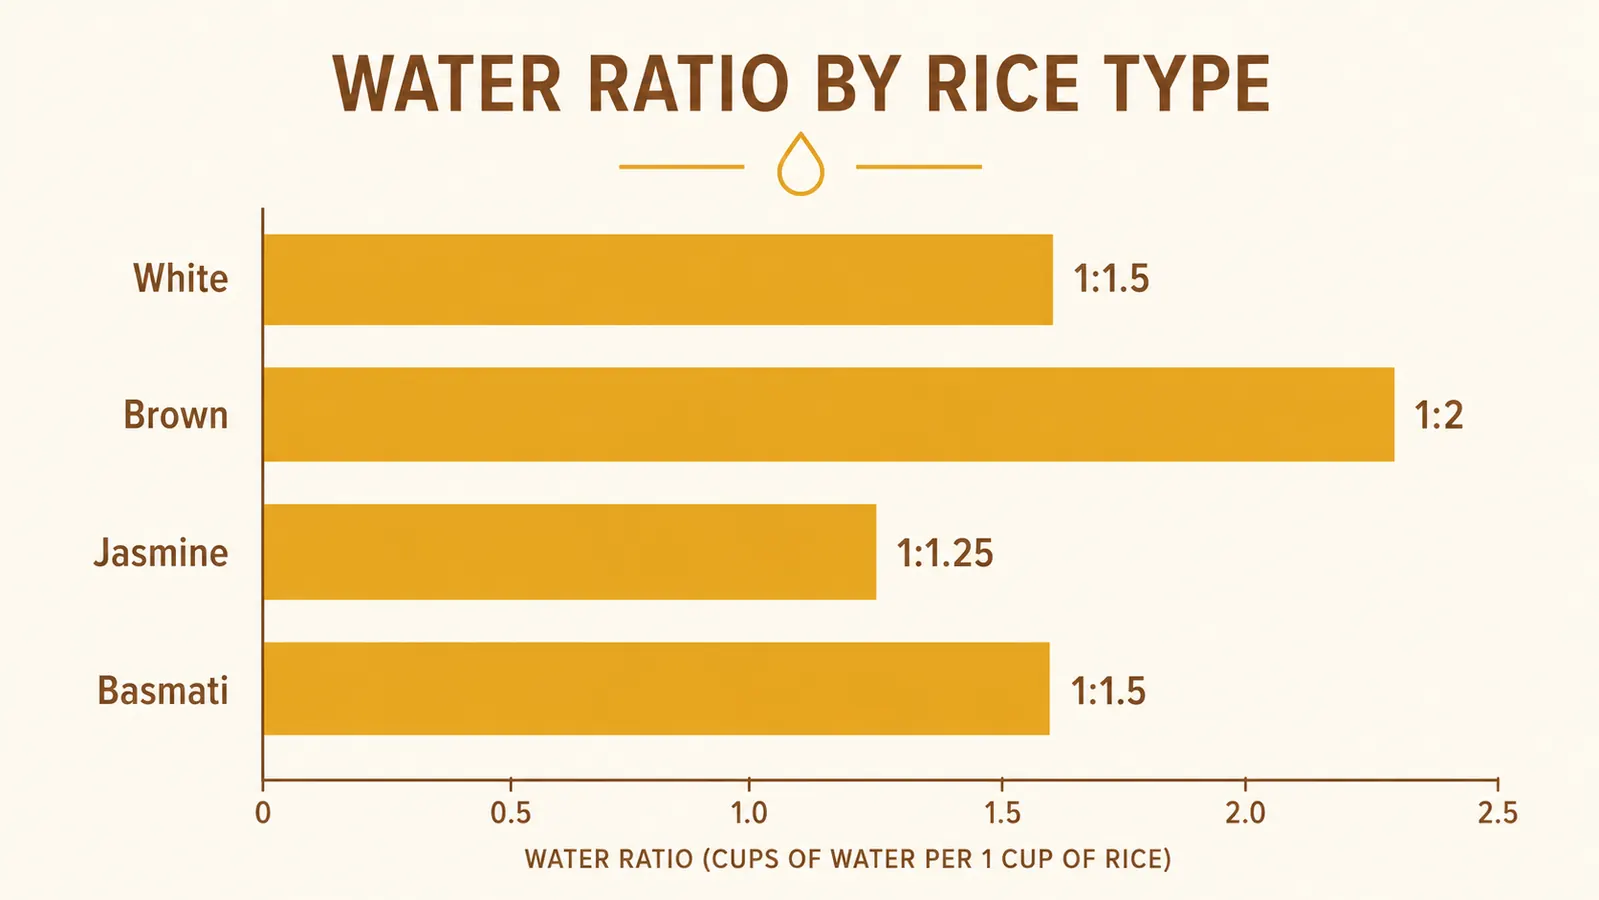
Water ratio is where most people go wrong, and the right number changes depending on what you are cooking. Here is what I have tested and confirmed in the Dash Mini specifically. These are not generic ratios from the back of a bag. They are calibrated for this machine.
For standard long-grain white rice: 1 cup dry rice to 1.25 cups water. This gives you grains that are fully cooked but separate and not mushy. For medium-grain white rice: 1 cup to 1.25 cups also works, though you can go up to 1.3 cups if you like it a little softer. For brown rice: 1 cup to 1.5 cups water. Brown rice has a tough outer bran layer that needs more water and more time. Expect your cook time to run about 35 to 40 minutes rather than the usual 20. For quinoa: 1 cup to 1.75 cups water. Rinse quinoa well before cooking to remove the natural saponin coating, which tastes bitter. The Dash Mini handles quinoa surprisingly well.
A small tip: if you are cooking at high altitude (above about 3,500 feet), add two extra tablespoons of water per cup of dry rice. Higher elevations lower the boiling point of water, which means the rice absorbs less moisture during cooking and can come out underdone if you follow sea-level ratios.
Step 4: Add Any Optional Seasonings Before You Start
Plain water works fine, but this step is where you can make the rice genuinely good rather than just acceptable. A few things worth trying: swap half the water for low-sodium chicken or vegetable broth. The difference is noticeable and makes your rice taste like something from a restaurant rather than something you cooked out of obligation. Add a pinch of salt and a small knob of butter before cooking. The butter melts in as the rice cooks and the result is rich without being heavy. A smashed garlic clove dropped into the water adds a mild savory note that pairs well with anything Asian-inspired.
Keep seasonings simple and avoid anything with a lot of sugar or thick sauces added before cooking. Sugar can burn on the ceramic surface. If you want a sweeter rice dish like coconut rice, use full-fat coconut milk mixed with water (roughly half and half) and add any sweeteners after the rice is done.
Swap half the water for chicken broth and add a knob of butter before you press start. That one change is the difference between rice that fills a bowl and rice that makes a meal.
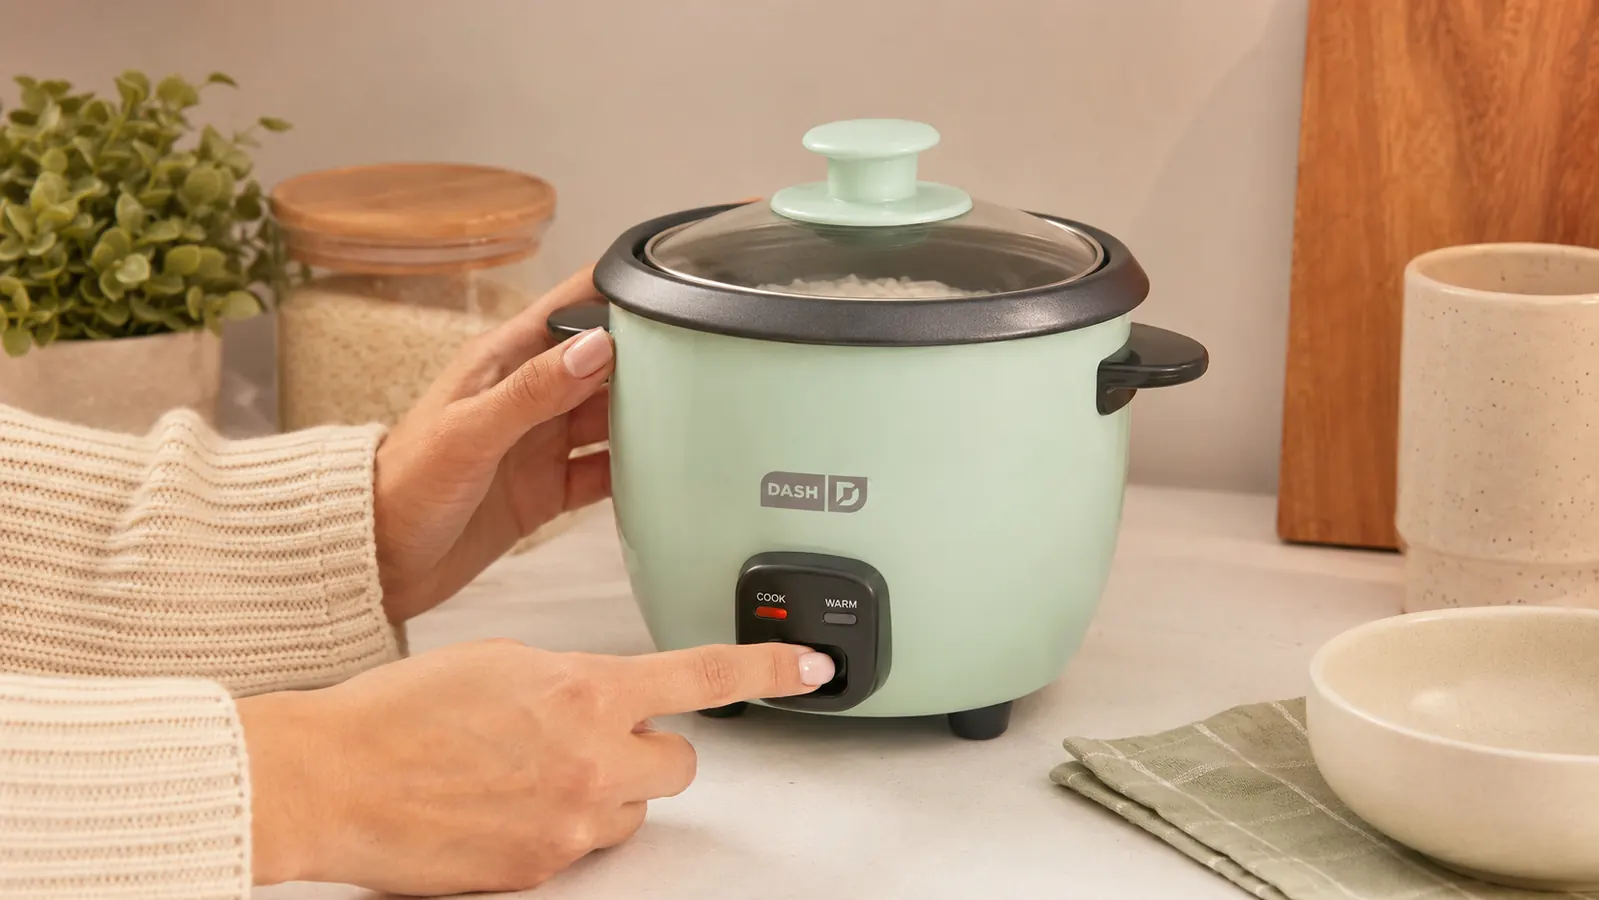
Step 5: Press Start and Let the Cooker Do Its Job
The Dash Mini has one button. Plug it in, place the ceramic pot inside, close the lid, and press cook. There is no timer to set, no temperature to adjust, and no watching the stove. The cooker uses a thermal sensor to detect when the water has been fully absorbed and the rice has hit the right internal temperature. At that point it clicks automatically into keep-warm mode.
White rice takes about 18 to 22 minutes from a cold start. Brown rice takes about 35 to 40 minutes. Quinoa is done in about 15 to 18 minutes. These times can vary a few minutes depending on your specific altitude and how cold your tap water was. Do not lift the lid during cooking. Each time you open it you release steam that the rice needs to finish absorbing, and the result will be dryer and less even. Trust the machine.
The keep-warm function will hold the rice at a safe temperature for up to 30 minutes after it finishes. After that the rice can start to dry out or the bottom layer can get crispy. If you are not eating right away, transfer the rice to a sealed container and refrigerate it. Reheated rice from the fridge is just as good as fresh for fried rice and grain bowls.
One thing I want to call out for new users: the steam vent on the lid will release puffs of steam during cooking. That is completely normal and by design. Do not try to block it or drape a towel over it. The steam needs somewhere to go. Set the cooker where the steam will not hit a cabinet directly above it, which is worth thinking about in a tight kitchen.
What Else Helps: Tools and Habits That Make the Dash Mini Even Better
A few accessories and habits that improve the experience over time. A rice paddle or wooden spoon for fluffing: after the cooker switches to keep-warm, wait five minutes and then open the lid and gently fluff the rice with a wooden spoon or a flat rice paddle. This separates the grains and releases any last steam. Do not use a metal spoon inside the ceramic pot. Metal will scratch the nonstick coating over time and you will end up with ceramic flaking into your food.
A small fine-mesh strainer is worth having on hand. It makes rinsing much easier than doing it in the pot and draining from the lid. A half-cup liquid measuring cup is useful for checking ratios without digging out the full measuring set. And a small notebook or phone note for your favorite ratios is something I genuinely use. After a while you will have your go-to settings dialed in and you will not have to think about it, but it helps to write them down until they become automatic.
If you cook grains regularly, the Dash Mini also handles farro, millet, and steel-cut oats with a little ratio experimentation. Farro works well at a 1:2.5 ratio (one cup farro to two and a half cups water) and needs about 30 minutes. Steel-cut oats at 1:3 with 25 to 30 minutes of cook time come out creamy and thick. None of this is marketed on the box but it works, and it expands what a single-serve cooker can do in a compact kitchen.
Cleaning the Dash Mini: It Really Is This Easy
The ceramic pot lifts straight out of the cooker. Once it has cooled enough to handle, fill it with warm water and let it soak for a minute or two if anything is stuck. Then rinse and wipe with a soft sponge. Most of the time there is nothing stuck because the ceramic nonstick surface releases cooked rice easily. Do not put the ceramic pot in the dishwasher. The seal and coating can degrade faster with repeated dishwasher cycles. Hand-washing takes thirty seconds and keeps the pot in good shape for years.
The outer body of the cooker just needs a quick wipe with a damp cloth. Unplug it first. Never submerge the body in water because the heating element is inside. The lid can be rinsed under the tap. The whole cleanup routine, pot plus lid plus body wipe, takes under two minutes. That is one of the most underrated things about this machine in a small kitchen where dish space is limited.
Less than $25, one button, and you will never have gluey stovetop rice again.
The Dash Mini Ceramic Rice Cooker is the most reliable thing in my small kitchen. Over 47,000 Amazon reviews back that up. Check today's price and see if it is in stock.
Amazon Check Today's Price on Amazon →